Replace Your Brake Pads with Confidence: A Friendly, Step-by-Step Guide
Today’s chosen theme is: Guide to Replacing Car Brake Pads. Dive into a practical, safety-first walkthrough that demystifies tools, steps, and pro tips, sprinkled with real-world stories. Ask questions, share your experiences, and subscribe for more car-care wisdom tailored to everyday drivers.
Clear Signs Your Brake Pads Are Due
Listen for high-pitched squeals from built-in wear indicators, or grinding that suggests metal-on-metal contact. Notice longer stopping distances, a brake warning light, or a pulsating pedal. If your last inspection is a mystery, assume it’s time to check and plan a replacement soon.
Choosing the Right Pad Type for Your Driving
Ceramic pads run cleaner and quieter for daily commuting, semi-metallic offer strong bite and heat resistance, and organic pads feel gentle but wear faster. Match your choice to your vehicle, local terrain, and driving habits. Share your preference in the comments so others can learn.
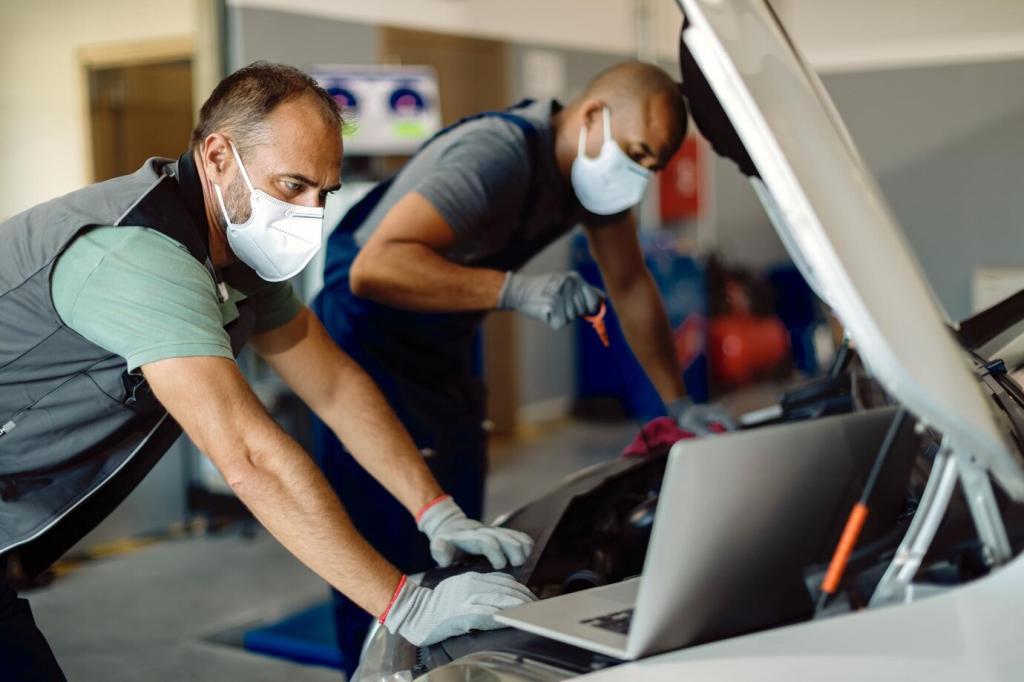
Safety First: Workspace and Personal Protection
Work on a level surface, chock the wheels, and always support the car with rated jack stands. Wear eye protection and gloves, keep brake cleaner handy, and never inhale brake dust. Engage your parking brake appropriately, follow torque specs, and invite a friend to spot you for extra safety.
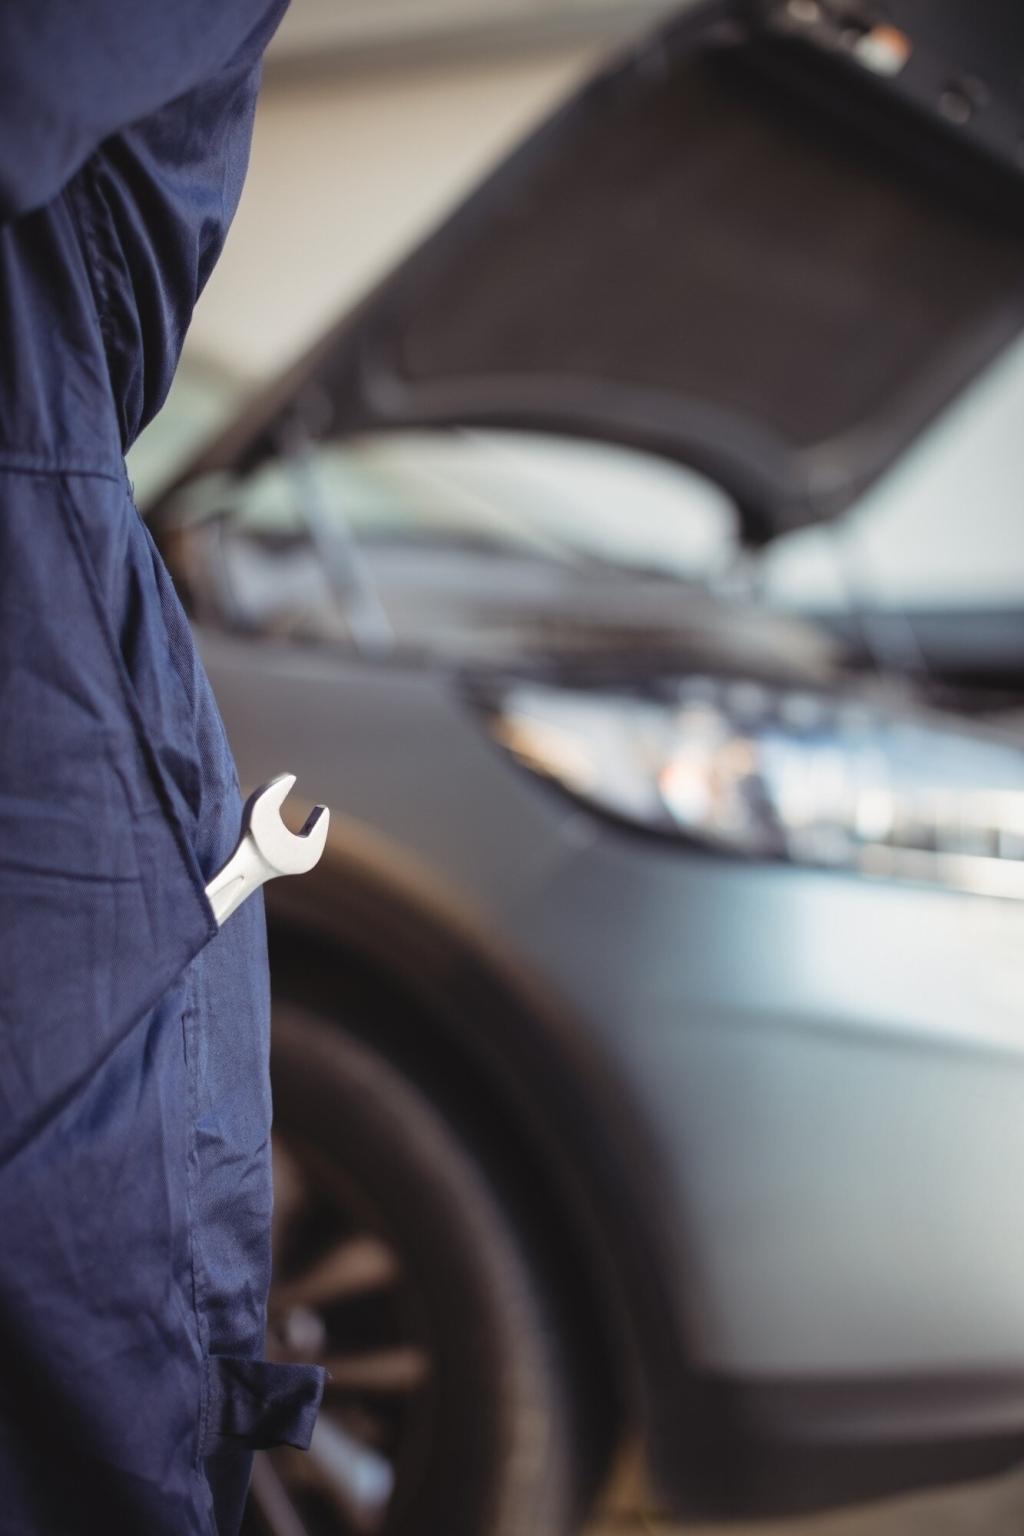
Tools and Parts Checklist You Can Trust
Essential Tools for a Smooth Replacement
Gather a hydraulic jack, sturdy jack stands, a lug wrench or torque wrench, socket set, breaker bar, caliper hanger or bungee, C-clamp or piston press, wire brush, and brake cleaner. Keep rags, nitrile gloves, and a flashlight nearby so you can see every detail clearly.
Helpful Extras That Save Time and Frustration
An impact wrench speeds lug removal, a hub cleaning tool fights rust, and ceramic paste or anti-seize helps prevent future squeaks. A dial indicator checks runout, and a service manual or app gives torque specs. Comment your favorite time-saver so others can add it to their kit.
Parts and Compatibility: Buy Right the First Time
Use your VIN to confirm pad fitment. Consider hardware kits with new clips and shims, and check if your car needs wear sensors. Compare reputable brands and inspect packaging for quality. If you found a reliable source, share it—community recommendations keep everyone’s wheels safer.
Front Brake Pad Replacement: Step-by-Step
Lift, Secure, and Remove the Wheel
Break lugs loose on the ground, lift at the recommended jacking point, then place jack stands under solid support locations. Fully remove lugs, take off the wheel, and slide it under the chassis as a backup safety measure. Snap a quick photo to remember your rotor orientation and hardware.
Unbolt the Caliper and Extract the Old Pads
Remove caliper bolts and hang the caliper—never let it dangle by the hose. Slide out the old pads and shims. Inspect the slide pins for smooth movement and even lubrication. Note wear patterns; uneven pads often hint at sticky pins or misaligned hardware that you should correct now.
Compress the Piston and Install New Pads
Open the reservoir cap slightly or monitor fluid level so it doesn’t overflow. Use a C-clamp or press to retract the piston slowly and evenly. Fit new shims and pads, apply thin anti-squeal compound to backing plates if recommended, then torque caliper bolts to spec. Reinstall the wheel properly.

Many modern cars require a scan tool or service mode to retract rear pistons safely. Never force a piston that’s electronically controlled. Follow manufacturer procedures, cycle the parking brake after reassembly, and confirm that the dash warning clears. Share your model and we’ll help locate exact instructions.

Some rears mirror the front with similar calipers; others hide a small parking brake drum inside the rotor hat. If you meet resistance removing the rotor, check for a loosened star-adjuster or a hidden set screw. A gentle tap with a mallet often frees stubborn, rusted rotors.
Pushing pistons back raises fluid level. Avoid overflow by extracting excess with a clean syringe or baster, and keep contaminants out. Some techs crack bleeders to prevent sending old fluid upstream. If you do, use fresh fluid and proper bleeding technique afterward to maintain pedal feel and safety.
Measure Thickness and Check Runout
Find the minimum thickness spec on the rotor hat or service data. Use a micrometer to measure multiple spots and a dial indicator to check runout. Excessive runout leads to pedal pulsation. If numbers are borderline or uneven, plan on resurfacing or replacement to ensure consistent performance.
Resurface or Replace: Making the Call
Deep grooves, heat spots, or cracks favor replacement. Light scoring may be corrected by resurfacing within spec. Remember, a flat, clean rotor face helps new pads bed correctly. If you’ve tackled this decision before, share what tipped the scale—it helps others navigate similar choices confidently.
Clean, Assemble, and Torque with Care
Remove protective oils with brake cleaner, wire-brush hub faces until bright, and apply a whisper-thin anti-seize to hub centering surfaces. Reinstall components, use new hardware if provided, and torque bracket, caliper, and lug fasteners to specification. Proper torque prevents runout and keeps vibrations away mile after mile.


Bedding-In: The Make-or-Break Final Step
Perform a series of moderate decelerations from safe road speeds without coming to a complete stop, allowing brief cool-downs between. Finish with several gentler slows. This builds an even transfer layer and reduces future squeal. Choose a safe, empty road and keep an eye on traffic at all times.
Bedding-In: The Make-or-Break Final Step
A faint odor and a hint of smoke during bedding can be normal as resins cure and transfer layers form. If the pedal fades dramatically or smoke becomes heavy, allow a longer cool-down. Describe your experience in the comments to help newcomers know what’s normal versus concerning.
Squeal, Squeak, or Vibration
Check that shims are seated, pad ears glide in clean hardware, and a thin layer of brake lubricant sits on the backing plates. Clean rotor faces and hub mating surfaces. Vibrations often trace back to rust, runout, or uneven deposits. Share your noise pattern to crowdsource precise fixes.
Soft or Spongy Pedal
Air in the system demands a proper bleed following the recommended sequence. Ensure calipers aren’t installed upside down with bleeders below the pistons. Inspect flexible hoses for bulges. If the pedal firms up after bleeding, you likely nailed it—tell us what worked to guide fellow DIYers.
Pulling to One Side
Uneven braking can indicate seized slide pins, sticky pistons, contaminated pads, or mismatched hardware. Compare pad thicknesses side to side and ensure even movement. A short road test on a quiet street helps confirm progress. Report your findings; your insight may solve someone else’s mystery tomorrow.


Sustainability and Smart Maintenance Habits
Take old pads and used fluid to approved recycling centers. Choose copper-free pads where available, and avoid blasting brake dust with compressed air. Use minimal, targeted cleaner and capture runoff. Small, conscious steps multiplied across many DIYers help keep our streets and streams healthier.
Sustainability and Smart Maintenance Habits
Doing your own brake pads builds confidence and awareness of your car’s condition. You control the parts quality and the care put into each step. Share how much time you saved and what you learned—others will benefit from your honest reflections and practical takeaways.